


Latest Mobile Phones
View All →
Motorola motorola razr fold - 2026
6000mAh Battery
Sony Xperia 1 VIII
5000mAh Battery
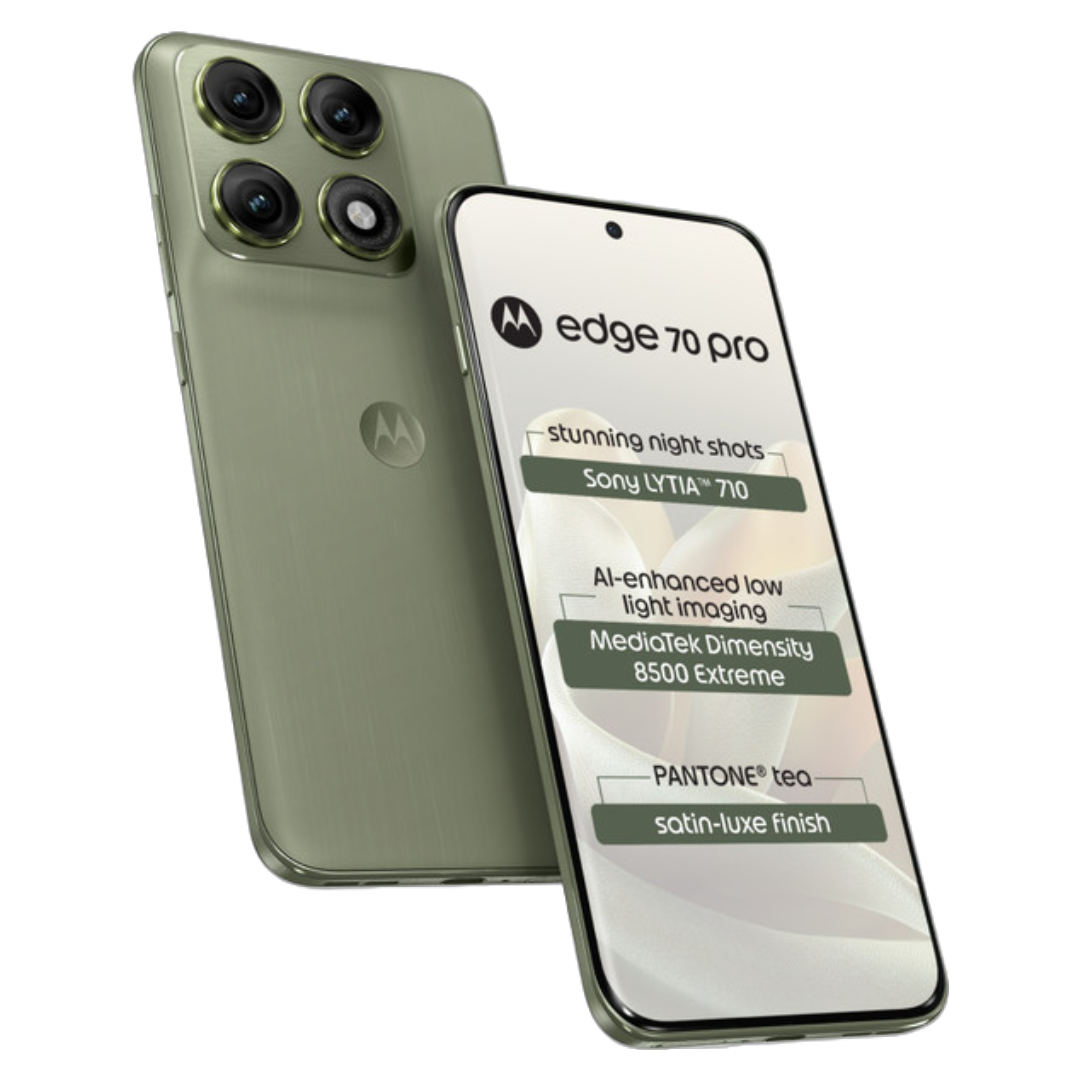
Motorola Edge 70 Pro
6500 mAh Battery
₹36,999

Realme realme 16
7000 mAh Battery
₹14,999
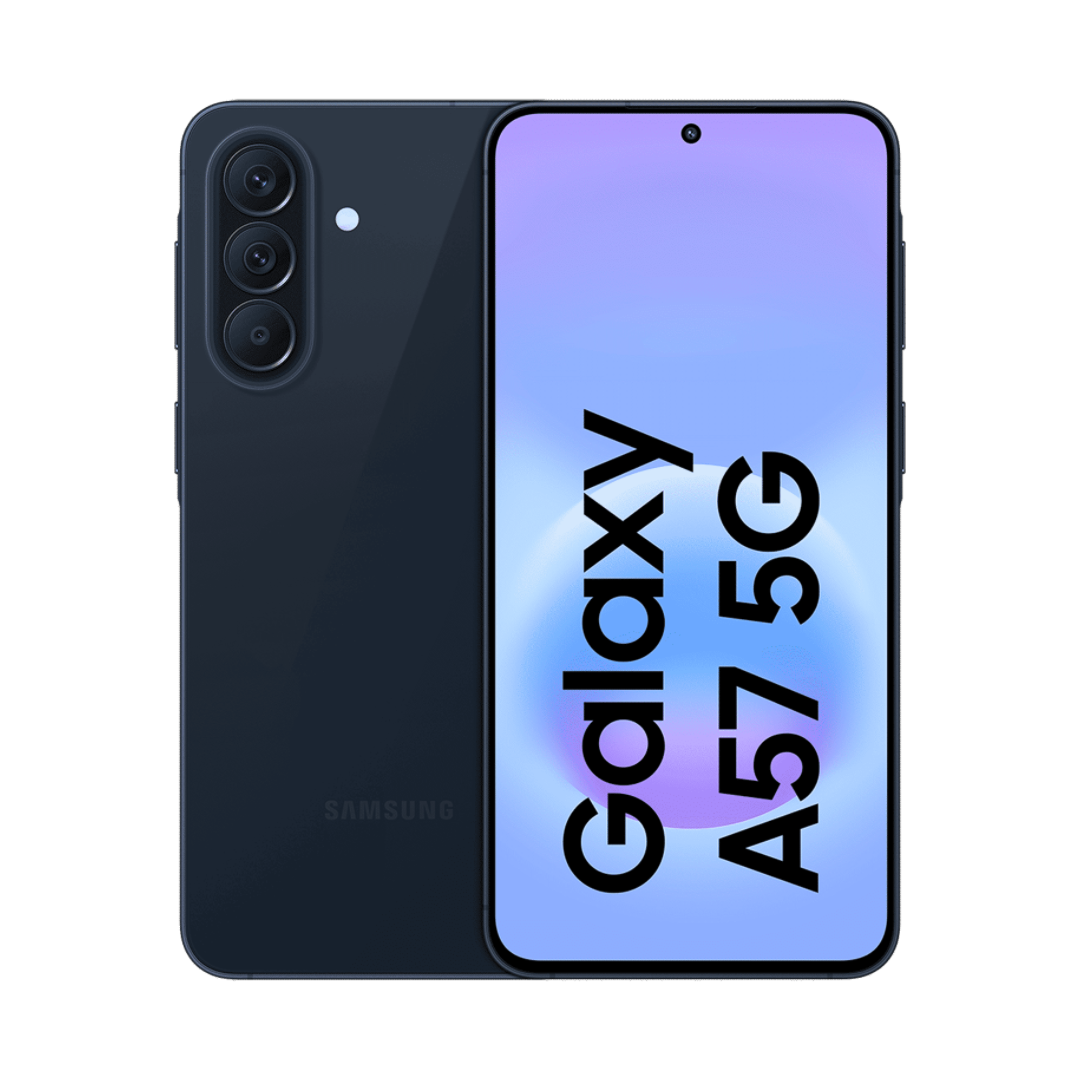
Samsung Galaxy A57 5G
5000 mAh Battery
₹51,620
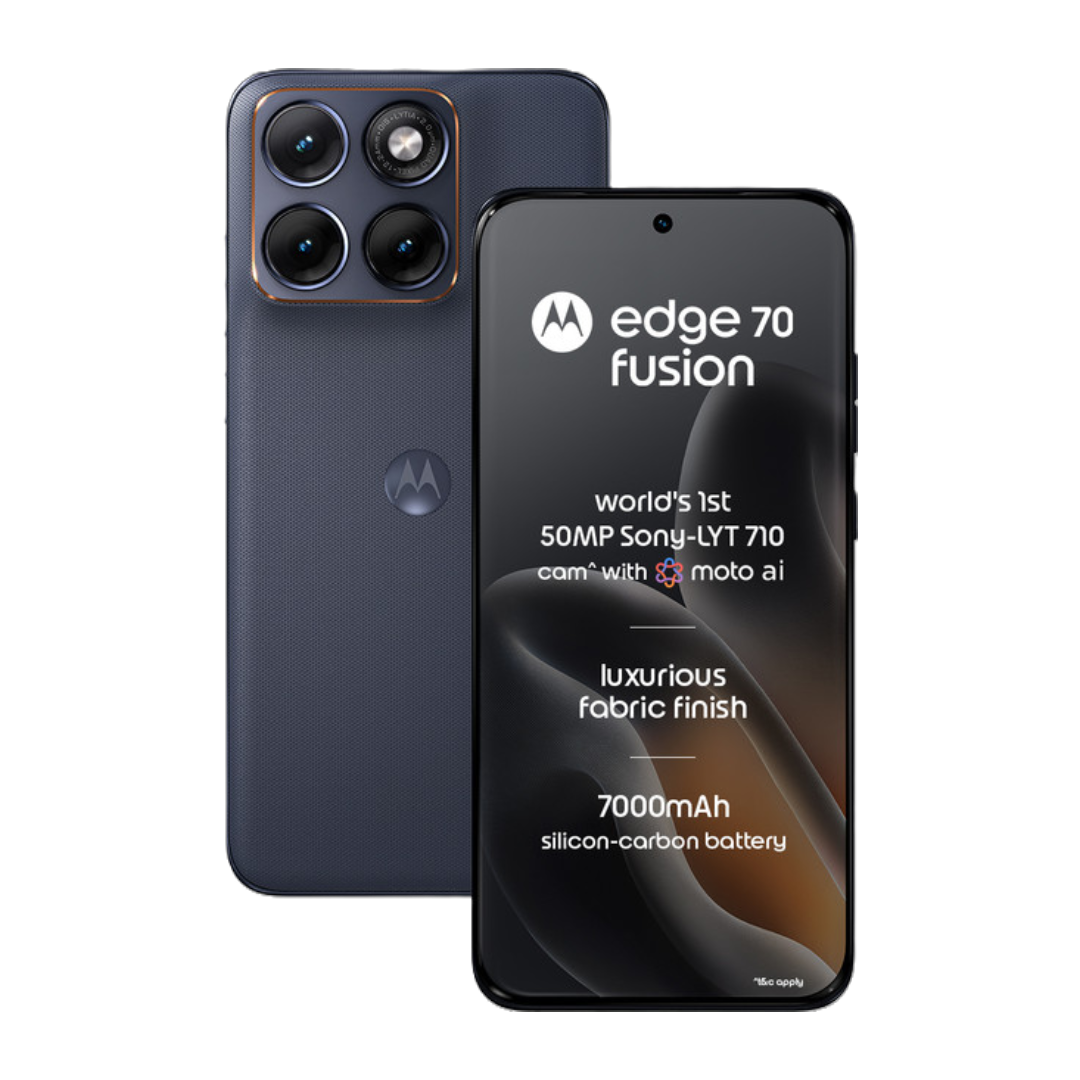
Motorola Edge 70 Fusion
7000 mAh Battery
₹27,030
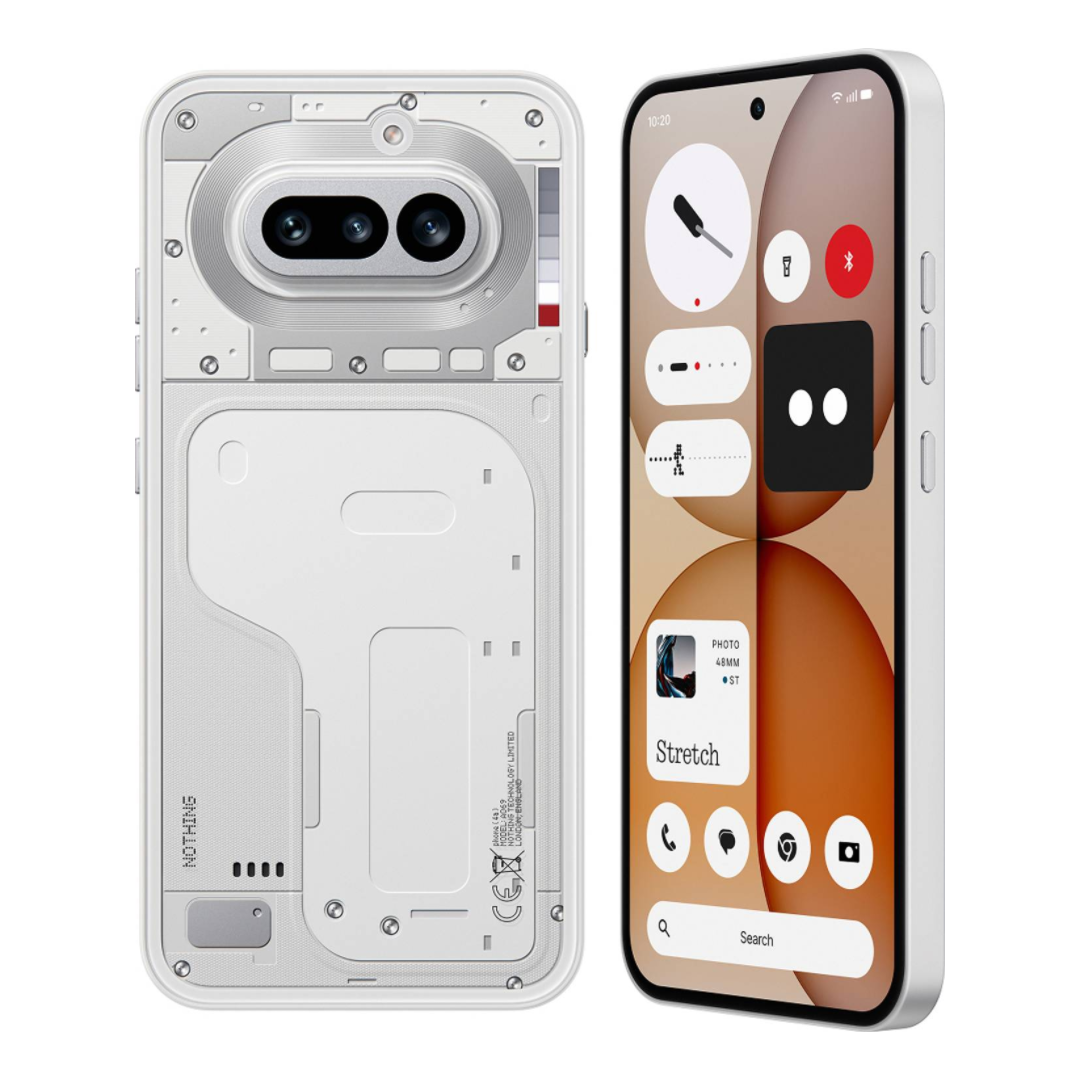
Nothing Phone 4a
5400 mAh Battery
₹31,999 / £379.00 / €389.00
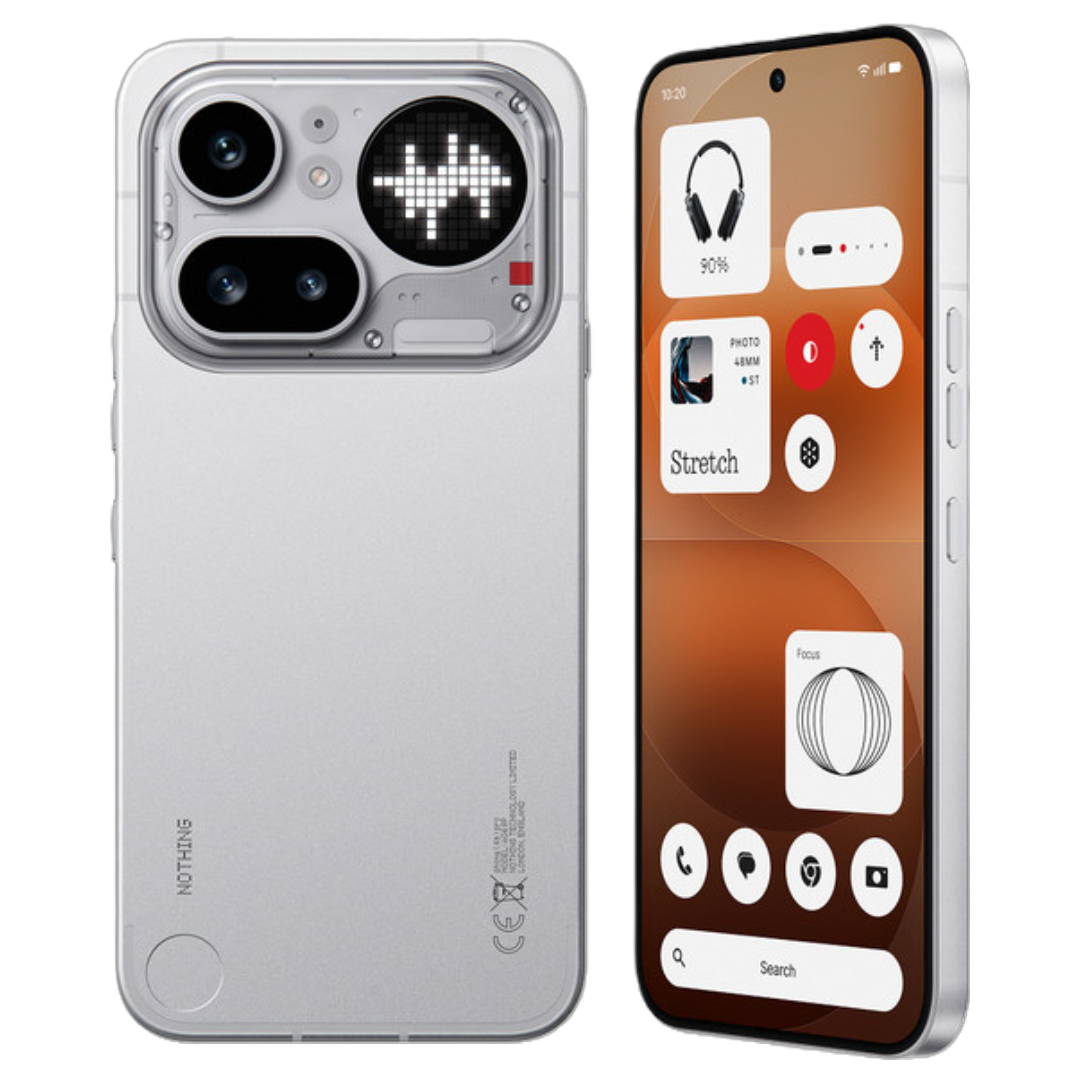
Nothing Phone 4a Pro
5400 mAh Battery
₹39,999
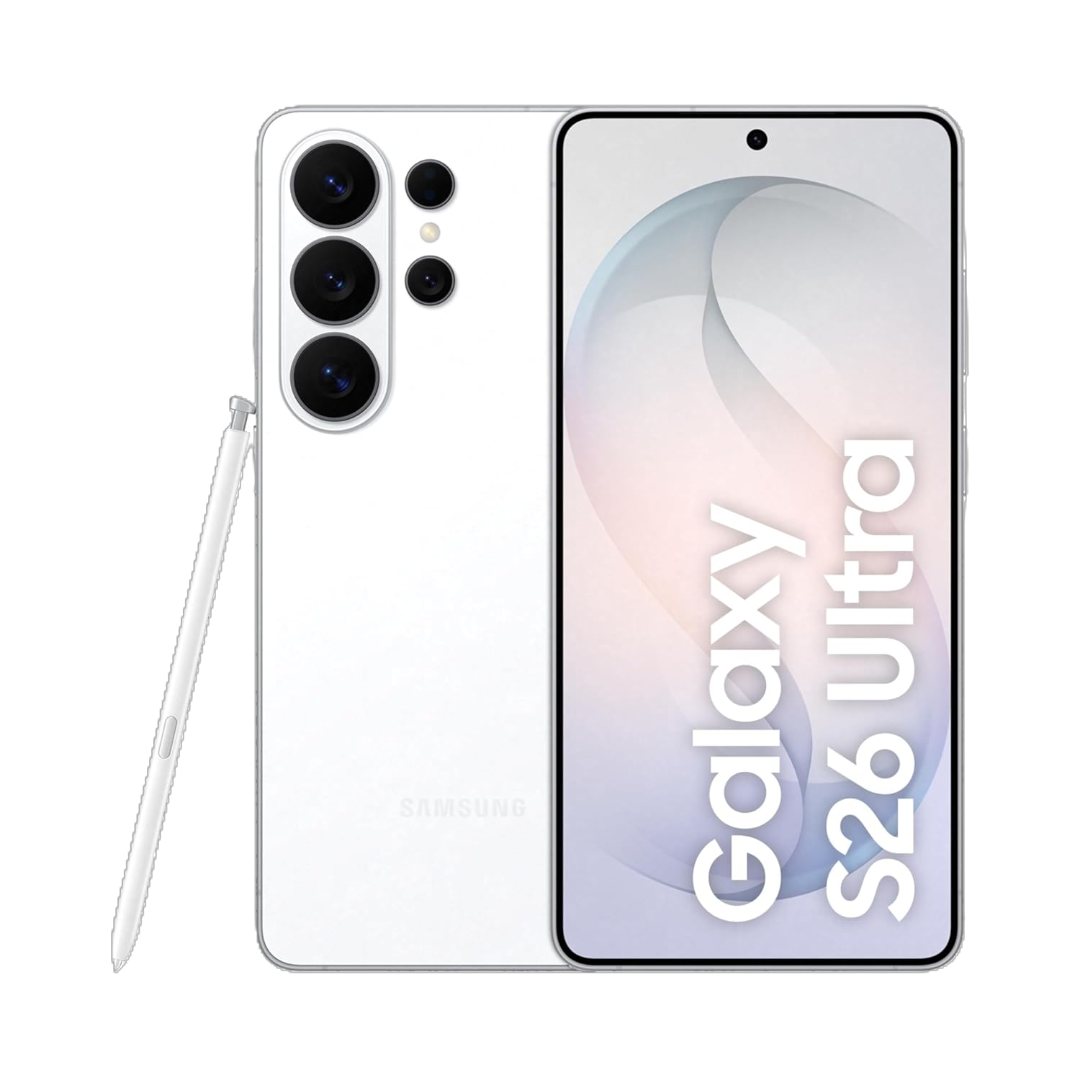
Samsung Galaxy S26 Ultra
5000 mAh Battery
₹189,999
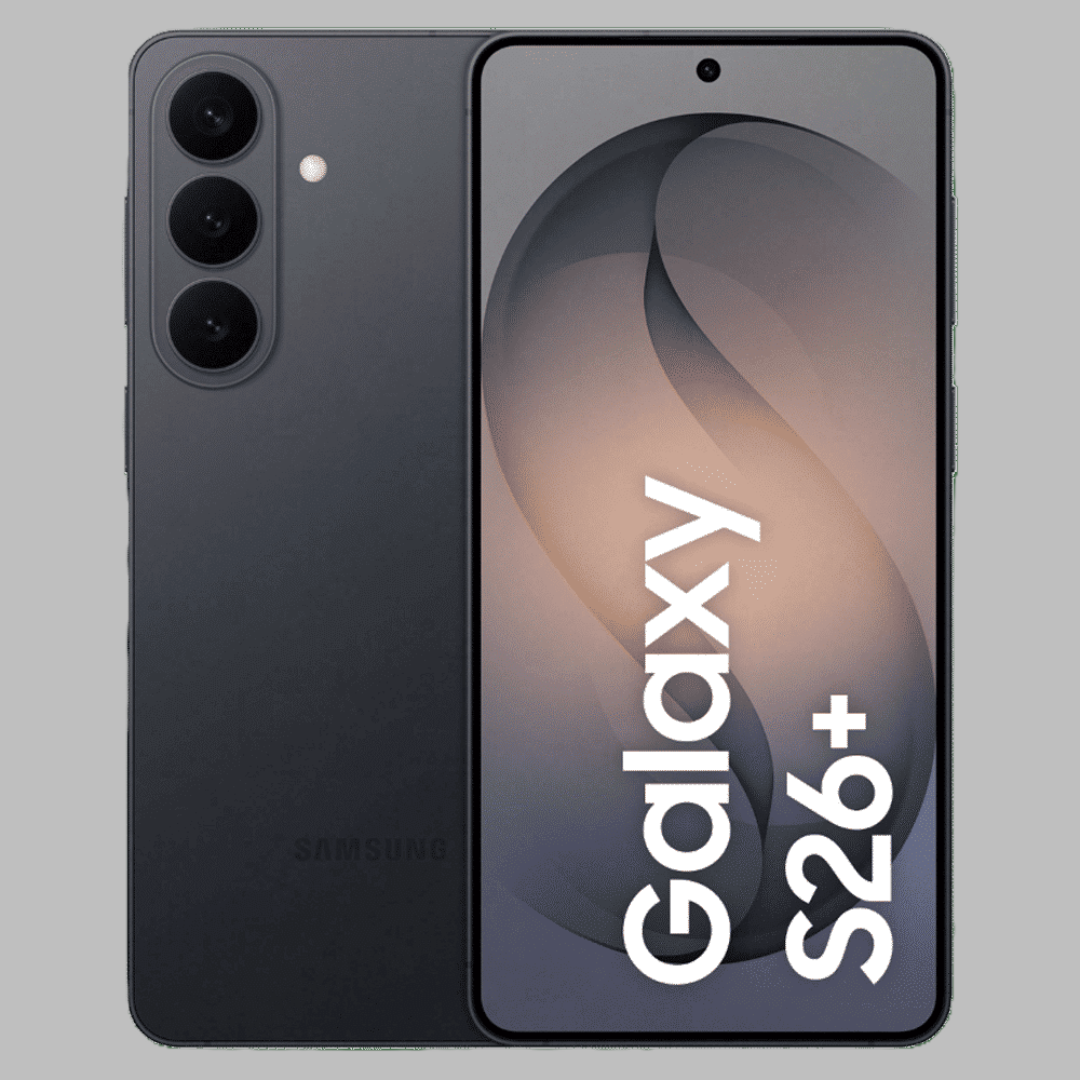
Samsung Galaxy S26 Plus
4900 mAh Battery
₹139,999