How to Hide Photos with Password in Google Photos
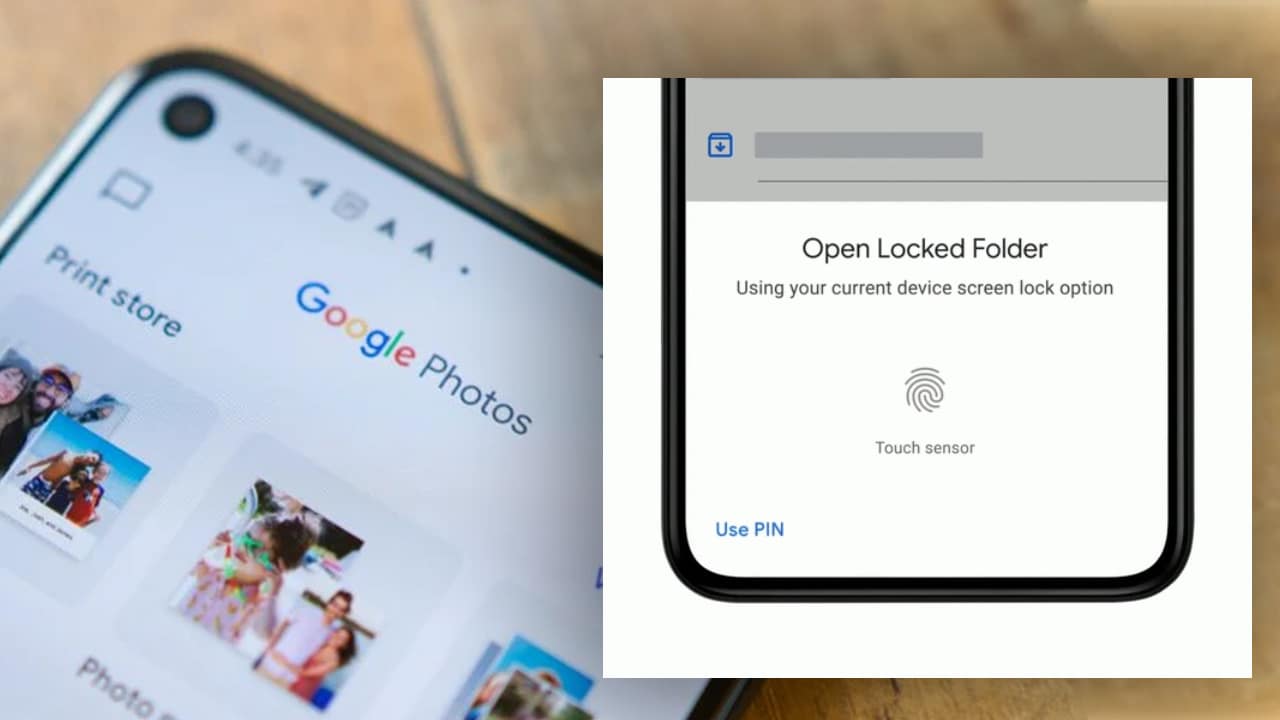
Google is constantly adding new features to its services and applications. With a recent update, Google has added a password lock folder to its Photos app. Google Photos is the most popular media storage application. It is also the default media viewing application on stock Android and Pixel phones. The recent update adds this new feature to all Android devices, which was earlier available in Pixel smartphones only. This feature is very beneficial for those users who want to hide their private photos and videos from direct view. In this post, we are going to tell you about Google Photos Locked Folder. We will also cover all the steps to hide photos with passwords in Google Photos. After enabling this feature, these files can only be accessed using the password.
How to Hide Photos on Google Photos Locked Folder
How to Use Google Photos Locked Folder
Before you can move your saved photos and videos to a locked folder, you’ll need to set it up. After setting up you will be able to easily store all your media files in this folder and they will be hidden from the library. It is a very easy process, you just need to follow these steps:
- First of all, Launch the Google Photos app on your android phone.
- then, tap on the Library option at the bottom section of the screen.

- Now you will see the Utility button at the top section, tap on it.
- Under utility settings, you will find a ‘Organize Your Library’ Section, open it.

- Then select the “Locked Folder” option.
- Select the “Set up Locked Folder” option and complete the on-screen instructions.
- Create your lock screen password or pattern and set it as the Photos Lock Screen password.
Also Read How to Search by Image on SearchEngines
Steps to Move old Photos to Locked Folder
After you’ve set up a locked folder, you’ll need to learn how to move your photos to this folder.
- To Move Photos, Go to Photos App and select all the media files that you want to move.
- After selection, tap on the three dots menu icon at the top right corner of the screen.
- In the menu settings, select the “Move to Locked Folder” option and select the “Move” option.
- Done, all the selected media files will now move to the lock folder and can be accessed using a lock screen password only.
Save Directly to lock folder
If you want to save all the new camera photos directly to the Lock folder, you can do so by following the given steps. However, this feature is currently available on Pixel smartphones only.
- Launch the camera app on your Google Pixel smartphones.
- then, tap on the “Photo Gallery” icon in the top right corner of the screen and select “Locked Folder”.
- That’s all, now all the photos captured by your phone’s camera will automatically save in the Locked Folder.
That’s all in this post of How to hide photos in Google Photos Lock Folder. If you have any questions/suggestions, write them down in the comment section below. We are coming up with more Google tips & tricks like this, till then stay connected.